


DIY High Alcohol Kombucha Recipe Straight From the Source
If you've been itching to brew your own high alcohol kombucha at home, here is a step-by-step recipe guide that will yield 1 gallon of hard kombucha at approximately 4-7% ABV.
DIY Hard Kombucha Recipe
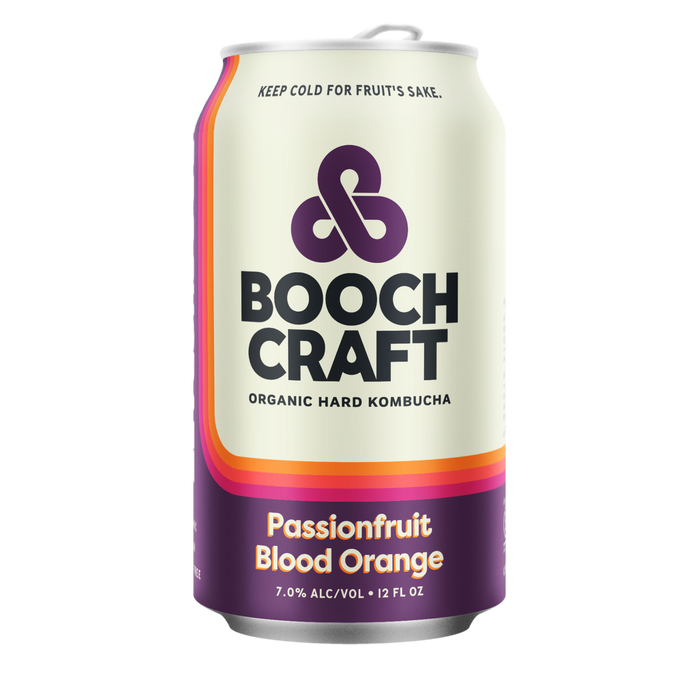
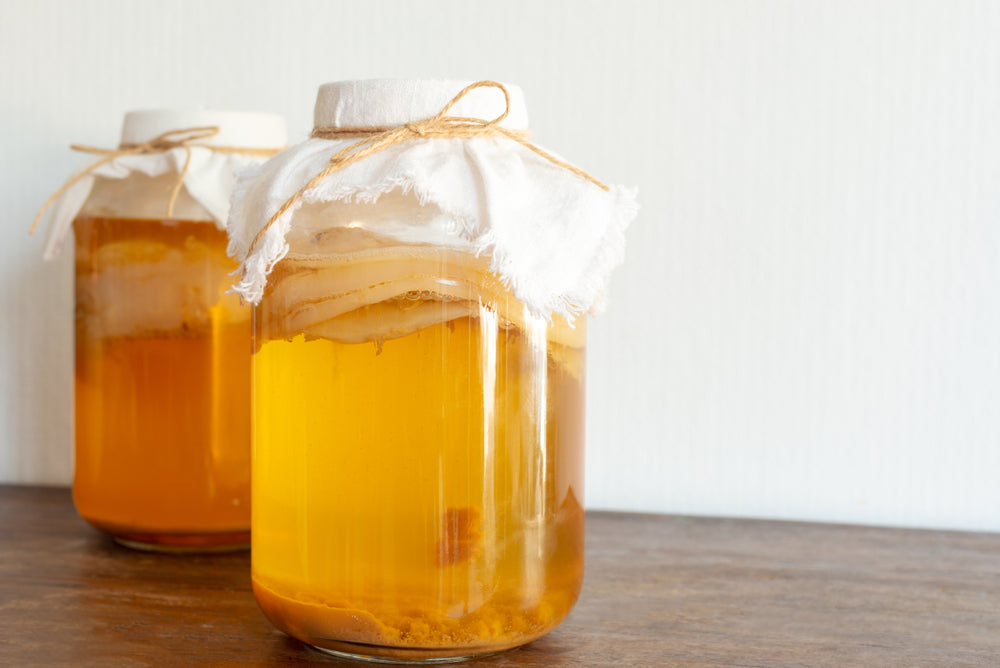
Upgrading your typical kombucha to a fizzy hard kombucha beverage is no simple task. It takes a careful eye, precise measuring, and plenty of patience during the fermentation processes. But, you totally got this. Oh and don't forget to check out what sets our kombucha apart from the rest. Step 1: Purchase a container for your booch. We like large mason jars or multi-gallon jugs like this. Step 2: Get your hands on a SCOBY. You can buy one online, beg a friend who brews kombucha at home to gift you one, or just buy your favorite unpasteurized organic kombucha to use as the starter culture. Step 3: Brew tea. For 1 gallon of boozy booch, you will need to brew 14 cups of organic black tea with 8 tea bags in spring (or reverse osmosis) water and 1 cup of organic sugar. Step 4: Allow the tea to cool before adding in your gallon fermenter. Add your SCOBY and the starter culture liquid that come along with it. Allow fermenting for 10 days with a clean t-shirt or breathable cloth secured over the top to prevent fruit flies from accessing the inside. The fermentation organisms require oxygen flow through the cloth to reproduce and grow more SCOBY and beneficial enzymes/acids. Step 5: Second fermentation time! After step 4, remove the SCOBY. You essentially have “normal” kombucha with only a trace amount of alcohol. The pH has dropped considerably as more beneficial acids are produced. If it’s too acidic (like vinegar) the second fermentation may not start or complete, so make sure to taste along the way (days 7-10) and catch before it becomes overly sour. Ordinarily, you would add any flavorings of choice and then distribute them into smaller jars or swing-top bottles. But to make your booch boozy, you’ll need a second round of fermentation.

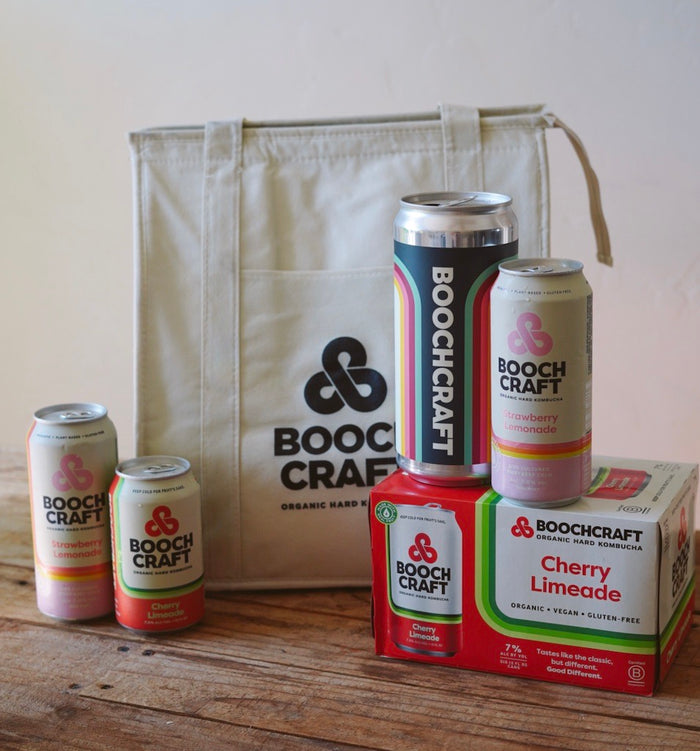
For this second round, dissolve 1 cup of organic sugar in 1 cup of warm spring (or RO) water. Once it cools, add ¾ teaspoon of dehydrated champagne yeast with characteristics that appeal to you. We like yeast that produces fruity aromatics and flavor rather than spicy or neutral, but go for whatever sounds funky and interesting! Within a few minutes, the yeast and sugar mixture will begin to foam, this means the yeast has re-awakened from its slumber and ready to eat up all the sugars to produce more alcohol. If the yeast does not foam, dump the sugar water into your compost and try again with another packet of yeast. Once you’re happy with your active yeast, add the mixture to your gallon of kombucha and sufficiently stir it in. Adding dry yeast directly into the fermenter without allowing it to rehydrate first will cause it to not achieve its foothold against the other active bacteria and yeast that already staked their claim in the environment. Step 6: Wait for the magic This time instead of a cloth cover you’ll want to loosely close the lid over the top. The idea is to only allow positive pressure of CO2 to build and escape rather than the air entering the vessel. Allow an additional 7-14 fermentation days and store somewhere with relatively consistent temperature and low light while the ABV climbs. You’ll know it’s working when you see bubbles forming and rising to the surface! Step 7: Add flavors and bottle After 7-14 days of second fermentation, it’s time to add flavors! Give it a taste first and notice how dry and boozy it is before deciding your juice additions to balance it out. Add any organic fruit juices that you’d like. For inspiration, browse our flavors page. As a final step, you’ll want to pour the jug of booch into smaller, single-serve bottles. We like glass swing tops or mason jars! Try to use slightly more juice than desirable for the next step to carbonate in the bottle, and this time close the lids as tightly as possible. Step 8: Bottle condition By using a little bit of extra juice the sugars will continue to ferment and trap the carbonation in the bottles for the delicious zippiness we all love that helps unlock the aromas and flavors of the finished product. Leave the bottles at room temp for 24-48 hours to build carbonation, then store them in the fridge before they get too fizzy! Pop open your amazing creation and revel in the joy of fermentation mastery! We hoped you enjoyed our DIY guide on high alcohol kombucha. Not ready to try this out or maybe looking for some fun flavors? Check out our tasty selection of Core, Seasonal, and Heirloom flavors at www.boochcraft.com/flavors.
